How to Increase Home Water Pressure from a Well
Low water pressure from your well can be frustrating. This comprehensive guide walks you through every step — from diagnosing the root cause to adjusting your pressure switch, checking the tank, and installing a booster pump.
START DIAGNOSING NOWWhy Is Your Well Water Pressure Low?
If you live in a rural area or rely on a private well, inconsistent or low water pressure is a common challenge. Before you can fix it, you need to understand what's causing the problem. The most frequent culprits include:
- Pressure switch misadjustment – the switch that turns your pump on and off may be set too low.
- Clogged sediment filter or pipes – minerals and debris can restrict flow over time.
- Failing pressure tank – a waterlogged tank reduces pressure and causes rapid pump cycling.
- Undersized pump or well yield – your pump may not be powerful enough for your household needs.
- Leaks in the system – even small leaks can drop pressure significantly.
Pro Tip: Before making any adjustments, check your pressure gauge. Most well systems operate between 40–60 PSI. If your pressure is below 30 PSI, you'll notice weak showers and slow-filling appliances.
Once you've identified the likely cause, you can follow the step-by-step solutions below. If you're unsure, a professional plumber can perform a full system check. Learn more about how to adjust the water pressure in your home for general settings, but for well-specific issues, keep reading.
Step 1: Diagnose Your Well Water System
Before you buy any parts or call a pro, run these quick tests to pinpoint the issue:
- Check the pressure gauge – located near the pressure tank. If it reads below 30 PSI, your system is underperforming.
- Listen to your pump – does it cycle on and off rapidly? That could indicate a waterlogged tank.
- Test flow rate – fill a 5-gallon bucket and time it. If it takes more than 2 minutes, your flow is too low.
- Inspect for leaks – check all visible pipes, joints, and the pump itself for drips or moisture.
Important: If you suspect a well yield issue (the well simply can't supply enough water), a booster pump may not help. You may need to deepen the well or install a storage tank. For most homes, though, the problem is fixable with the steps below.
Step 2: Adjust the Pressure Switch
The pressure switch is the brain of your well system. It turns the pump on when pressure drops (cut-in) and off when it reaches the set maximum (cut-out). Most switches are factory-set to 30/50 or 40/60 PSI. You can adjust it to increase overall pressure.
⚠️ SAFETY FIRST: Turn off power to the pump at the breaker box before opening the switch cover.
- Remove the pressure switch cover.
- You'll see two large springs with nuts. The larger spring adjusts the cut-in and cut-out simultaneously.
- Turn the nut clockwise to raise both cut-in and cut-out pressure. One full turn roughly equals 2–3 PSI.
- For example, to go from 30/50 to 40/60, turn the nut 3–4 full rotations.
- Replace the cover and restore power. Test your water pressure.
Pro Tip: Don't exceed 60 PSI cut-out – higher pressure can stress pipes and fixtures. If you need more, consider a booster pump.
If you're not comfortable with electrical work, many homeowners hire a plumber for this task. Check out licensed home improvement contractors near me for a qualified pro.
Step 3: Check and Recharge the Pressure Tank
A waterlogged tank (filled with water instead of air) is a leading cause of low pressure. Here's how to fix it:
- Turn off power to the pump and drain the system by opening a faucet.
- Check the air pressure using a tire gauge at the Schrader valve on top of the tank.
- The air pressure should be 2 PSI below the pump cut-in pressure. For a 30/50 switch, set air to 28 PSI; for 40/60, set to 38 PSI.
- If air is low, use a compressor or hand pump to add air. If water comes out of the valve, the bladder is ruptured and the tank needs replacement.
Cost: A new 20-gallon pressure tank costs around $200–$300. Larger tanks for bigger homes can run $400–$600. Recharging is free if you have an air compressor.
Step 4: Clean or Replace Sediment Filters
Well water often contains sand, rust, or minerals that clog filters and reduce flow. If you have a whole-house sediment filter, check and replace it regularly.
- Turn off water supply and release pressure.
- Remove the filter housing and inspect the cartridge. If it's brown or slimy, replace it.
- For spin-down filters, open the flush valve to wash away debris.
- If you don't have a filter, consider installing one – it protects your appliances and improves pressure over time.
Filter replacements cost about $15–$30 each and should be changed every 3–6 months depending on water quality.
Step 5: Install a Water Pressure Booster Pump
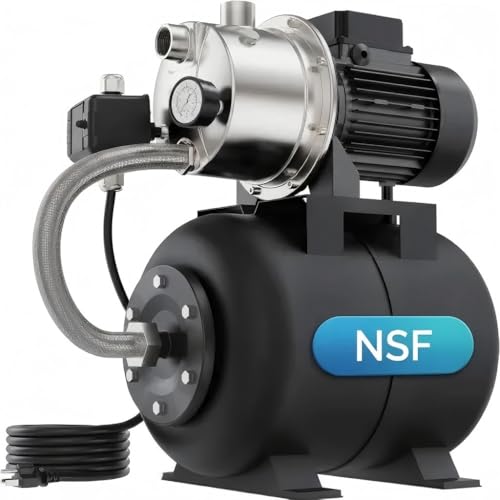
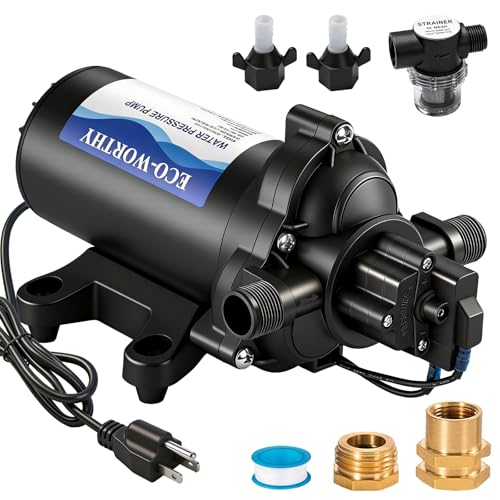
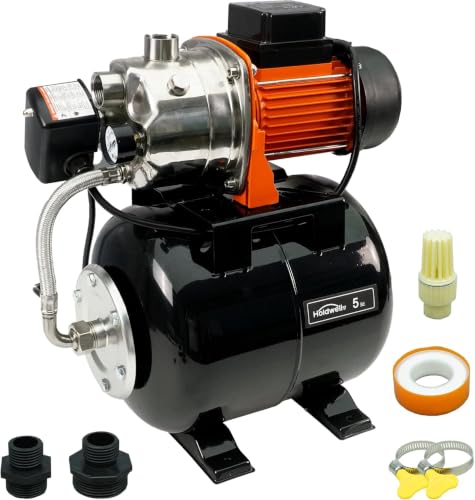
If your well produces adequate water but the pressure at the house is still low, a booster pump can be a game-changer. It's installed on the main line after the pressure tank and gives your water an extra push.
Benefits
- Raises pressure to 50–70 PSI consistently
- Works with any well system
- Improves shower pressure and appliance performance
- Easy to install with basic plumbing skills
Cost & Considerations
- Basic booster pump: $150–$300
- Professional installation: $300–$600
- Requires a pressure tank to function properly
- May need a pressure switch and check valve
For most DIYers, installing a booster pump is a weekend project. However, if you're not comfortable with plumbing and electrical work, it's wise to hire a professional. You can find remodeling contractors near me with financing for larger upgrades.
Step 6: When to Upgrade Your Well Pump
If your well pump is old, undersized, or failing, no amount of adjusting will fix the pressure. Signs you need a new pump:
- Pump runs constantly or cycles too frequently
- You have to wait for water to recover between uses
- The pump is over 10–15 years old
- You've added new bathrooms or appliances since the pump was installed
A new submersible well pump (1/2–1 HP) costs between $500–$1,200 for the unit, plus installation which can run $800–$2,500 depending on well depth. This is a significant investment but will provide reliable pressure for decades.
Recommendation: If your pump is failing, consider pairing the upgrade with a new pressure tank and booster pump for a complete system overhaul.
Step 7: Maintain Your System for Lasting Pressure
Once you've fixed your pressure, keep it that way with regular maintenance:
- Check the pressure tank air charge every 6 months
- Replace sediment filters quarterly
- Inspect the pressure switch and wiring annually
- Test your water quality – iron and minerals can damage pumps
- Schedule a professional inspection every 2–3 years
By staying proactive, you'll avoid sudden pressure drops and extend the life of your equipment.
Ready to Boost Your Well Water Pressure?
Whether you adjust the pressure switch, recharge the tank, or install a booster pump, you now have the knowledge to take control. Start with the simplest fix and work your way up.
Need professional help? Explore our guides to find licensed home improvement contractors near me or remodeling and construction companies near me for larger renovations.
For a deeper dive, check out related articles: how to increase water pressure with well pump and how to increase water pressure without a pump.