Complete Tile Installation Guide: From Planning to Perfect Finish
Master the art of tile installation with our comprehensive guide. Learn about essential tools, material selection, cost breakdown, and step-by-step techniques for floors, walls, and backsplashes. Whether you're a DIY enthusiast or planning a professional renovation, this guide covers everything you need to know.
Explore Tile Tools →Tile installation is one of the most transformative home improvement projects you can undertake. From updating a kitchen backsplash to installing new tile flooring in a bathroom, the right approach ensures durability and beauty. This guide covers tile installation methods, tools, and costs to help you achieve professional results.
Whether you're working with ceramic, porcelain, or natural stone, understanding the process is key. For a broader perspective on home flooring, you may also explore hardwood flooring or laminate flooring options.
Why Choose Tile for Your Home?
Tile is a versatile, durable, and water-resistant material that adds value to any space. Here are key benefits:
- Durability: Tile can last decades with proper care.
- Water Resistance: Ideal for bathrooms, kitchens, and entryways.
- Low Maintenance: Easy to clean and resistant to stains.
- Design Versatility: Available in countless colors, patterns, and sizes.
- Eco-Friendly: Many tiles are made from natural materials.
If you're considering other options, compare tile with vinyl planks or learn how to repair existing floors before installation.
Types of Tile: Choosing the Right Material
Selecting the right tile material is crucial for your project's success. Here are the most common options:
- Ceramic Tile: Affordable, durable, and available in many styles. Great for floors and walls.
- Porcelain Tile: Denser and more water-resistant than ceramic. Ideal for high-moisture areas.
- Natural Stone: Marble, granite, slate, and travertine offer unique, luxurious looks but require sealing.
- Glass Tile: Beautiful for backsplashes and accent walls, but can be more fragile.
- Mosaic Tile: Small tiles on mesh sheets, perfect for intricate designs and shower floors.
Pro Tip: For areas with heavy foot traffic or moisture, porcelain tile is often the best choice due to its low porosity and high durability.
Essential Tile Installation Tools & Equipment
Having the right tools makes the difference between a frustrating DIY project and a professional-looking installation. Below is a list of must-have tools for most tile projects.
- Tile Cutter / Wet Saw
- Notched Trowel
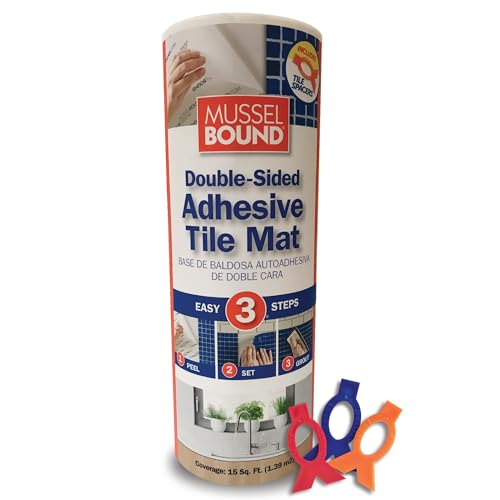
- Tile Spacers
- Rubber Mallet
- Level & Square
- Grout Float
- Sponge & Bucket
- Tile Nippers
- Measuring Tape
- Knee Pads
For a comprehensive understanding of tool basics, check out our tool basics guide and learn about safety first practices on site.
Tile Installation Cost Breakdown (2026 Estimates)
Understanding the costs involved helps you budget effectively. Below are average costs for tile installation, including materials and labor.
| Item | Average Cost | Notes |
|---|---|---|
| Tile (per sq ft) | $2 – $15 | Ceramic is cheaper; natural stone is more expensive |
| Backer Board / Underlayment | $1.50 – $3 / sq ft | Required for floors and some walls |
| Thinset Mortar & Grout | $50 – $150 | Depends on project size |
| Tool Rental (Wet Saw) | $40 – $80 / day | Buying a tile cutter may be cheaper for large projects |
| Professional Labor | $5 – $15 / sq ft | Varies by region and complexity |
For small projects like a backsplash, expect to spend $300–$800 for materials and tools. A full bathroom floor may cost $1,500–$4,000 including professional installation.
To compare with other flooring options, read our guides on hardwood flooring costs and laminate flooring.
How to Install Tile: Step-by-Step Guide
Follow these steps for a successful tile installation. Always prepare your workspace and follow safety guidelines.
- Plan & Measure: Measure your area and calculate the number of tiles needed. Add 10% for waste and cuts.
- Prepare the Subfloor/Substrate: Ensure the surface is clean, level, and dry. Use structural repairs if needed.
- Install Backer Board: For floors and walls, install cement backer board or a suitable underlayment.
- Layout Design: Dry-lay tiles to plan the pattern and cuts. Start from the center for a balanced look.
- Apply Thinset Mortar: Use a notched trowel to spread mortar evenly. Work in small sections.
- Set Tiles: Press tiles firmly into the mortar. Use spacers to maintain even grout lines.
- Cut Tiles: Use a tile cutter or wet saw to fit edges and corners. Practice on scrap tiles first.
- Let Mortar Cure: Allow 24-48 hours for the mortar to set before grouting.
- Apply Grout: Spread grout with a rubber float, working it into the joints. Wipe away excess with a sponge.
- Seal (if needed): Natural stone and some porcelain tiles require sealing to prevent stains.
Remember: For complex areas like showers or outdoor spaces, consider consulting a professional. Learn about DIY vs. hiring a pro to make the right decision.
Expert Tile Installation Tips & Troubleshooting
Even experienced DIYers encounter challenges. Here are solutions to common issues:
- Uneven Tiles: Use a level during installation; tap with a rubber mallet to adjust.
- Grout Cracking: Ensure proper mortar coverage and avoid walking on tiles too soon.
- Water Damage: Seal grout and use waterproof membranes in wet areas.
- Tile Cracking: Use a wet saw for clean cuts and avoid forcing tiles into place.
Maintaining your tile is easy with regular cleaning. For more home care advice, see our cleaning hacks and home safety tips.