DIY Wooden Signs: Complete Guide to Crafting Custom Wood Signs
Learn how to create stunning wooden signs with expert techniques, essential tools, wood selection tips, and step-by-step guidance. Whether you're a beginner or experienced woodworker, this guide will help you craft beautiful custom wood signs for your home, business, or gifts.
START MAKING WOOD SIGNSWhy DIY Wooden Signs?
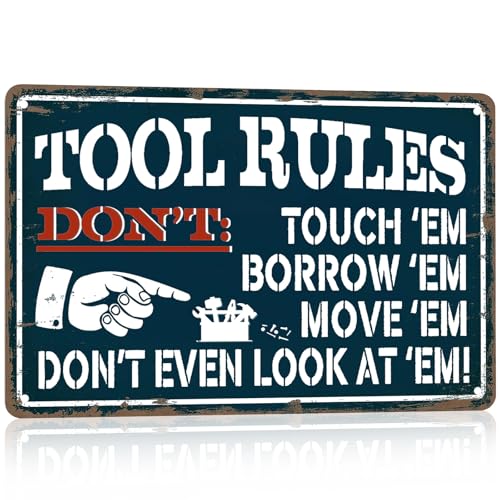
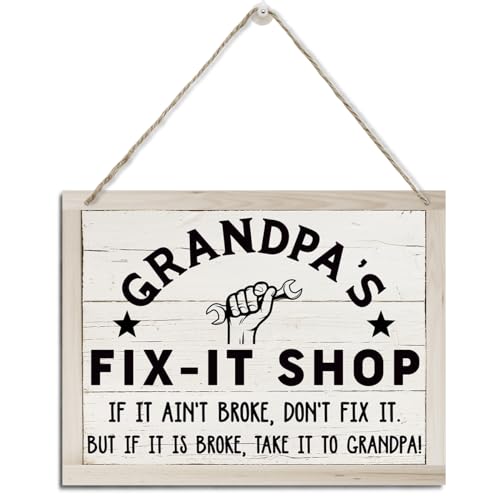
Wooden signs have become incredibly popular for home decor, business branding, wedding decor, and personalized gifts. Creating your own wooden signs allows you to customize every aspect — from wood type and size to design, color, and finish. With the right guidance and tools, you can create stunning signs that rival professional products at a fraction of the cost.
Why Make Your Own Wooden Signs? Crafting custom wood signs gives you complete creative freedom. You can match your home's aesthetic, create unique gifts, or even start a small business. Plus, it's a rewarding skill that combines woodworking, design, and artistry.
Choosing the Right Wood for Your Signs
Selecting the right wood is crucial for creating durable, beautiful signs. Each wood type offers different characteristics in terms of grain, hardness, weight, and workability. For wooden signs, the most popular choices are:
- Pine: Affordable, easy to work with, and takes paint well. Great for beginners. Learn more about lumber selection to understand pine's properties.
- Cedar: Naturally weather-resistant with beautiful grain. Perfect for outdoor signs.
- Birch and Maple: Smooth, fine-grain woods ideal for intricate designs and laser engraving.
- Reclaimed Wood: Adds rustic character and is eco-friendly. Check out upcycling furniture techniques that apply to wood preparation.
- MDF (Medium-Density Fiberboard): Smooth, affordable, and perfect for painted signs.
When choosing wood, consider where the sign will be placed. For outdoor signs, choose weather-resistant species like cedar or redwood, and apply proper protective finishes. For indoor signs, pine, birch, and poplar are excellent options.
Essential Tools for Wooden Sign Making
Having the right tools makes the process of crafting wooden signs much easier and more enjoyable. Here are the essential tools you'll need:
Cutting Tools
A circular saw or miter saw for cutting wood to size. A jigsaw is useful for curved cuts. For detailed cuts, a router with lettering templates is invaluable.
Shaping & Sanding Tools
Orbital sanders smooth surfaces quickly. Sanding blocks and various grits (80-220) are essential for a professional finish.
Marking & Measuring
Tape measures, laser levels, and speed squares ensure accurate cuts and proper alignment of letters and designs.
Clamping & Securing
Clamps are essential for holding workpieces securely while cutting, routing, or gluing.
Pro Tip: For beginners, you can start with basic hand tools like a hand saw, chisel set, sanding block, and a drill. As you advance, invest in power tools that make the process more efficient. Visit our tools equipment guide for comprehensive reviews.
Step-by-Step Guide to Making Wooden Signs
Follow these steps to create your own custom wooden signs:
1. Design Your Sign
Start with a clear design concept. Decide on the message, font style, layout, and overall aesthetic. Use design software or sketch your ideas on paper. Websites like Canva or Adobe Illustrator can help create printable templates for transferring designs to wood.
2. Select and Prepare Your Wood
Choose your wood based on the final look and location. Cut your board to the desired size using a miter saw or circular saw. Sand the surface starting with coarse grit (80) and working up to fine grit (220) for a smooth finish.
3. Transfer Your Design
There are several methods to transfer your design: carbon paper tracing, stencils, or projection. For intricate designs, consider using a vinyl stencil created with a cutting machine like Cricut. Learn about wood finishing techniques that complement your design.
4. Carve or Route Letters
For professional-looking signs, use a router with lettering templates or a CNC router. Hand carving with chisels creates a rustic, handmade look. Practice on scrap wood first. For raised letters, use a router to remove material around the letters.
5. Paint or Stain
Apply paint or stain to your sign. Use high-quality paint brushes and paint rollers for even coverage. Consider using multiple colors, distressing techniques, or ombré effects. For lettering, use small detail brushes or paint pens for precision.
6. Apply Protective Finish
Protect your sign with a clear sealant: polyurethane, varnish, or spar urethane. For outdoor signs, choose a finish with UV protection and water resistance. For indoor signs, a simple wax or clear coat is sufficient.
7. Add Hanging Hardware
Attach hanging hardware appropriate for the sign's weight and hanging location. Sawtooth hangers, D-rings, or simple keyhole slots work well. For large or heavy signs, consider attaching a French cleat.
Design and Technique Tips for Stunning Wood Signs
Font Selection
Choose legible fonts that match your sign's purpose. Sans-serif fonts are modern and clean, while serif fonts offer classic elegance. Script fonts work well for wedding and home decor signs.
Color Theory
Use contrasting colors for text and background. Dark lettering on light wood or light lettering on dark backgrounds are most readable. Consider your room's color scheme for placement.
Distressing Techniques
For rustic signs, use distressing techniques: sand edges, apply a dark glaze and wipe off, or use a wire brush to create texture. The goal is to create a naturally aged appearance.
Layering and Dimension
Add dimension by layering different wood types, adding dimensional letters, or using shadow boxes. This creates visual interest and professional-looking signs.
Popular Types of Wooden Signs to Make
Explore different types of wooden signs you can create:
- Home Decor Signs: Family names, inspirational quotes, address signs, and seasonal decor.
- Business Signs: Storefront signs, office nameplates, directional signage.
- Wedding & Event Signs: Welcome signs, seating charts, directional signs.
- Outdoor Signs: Garden markers, welcome signs, address plaques.
- Personalized Gifts: Custom signs for birthdays, anniversaries, or housewarming.
Common Wood Sign Mistakes and How to Avoid Them
- Not Sanding Properly: Skipping sanding steps leads to rough surfaces and poor paint adhesion. Always sand progressively to higher grits.
- Choosing the Wrong Wood: Selecting wood that's too soft or too hard can make carving difficult. Research before you buy. Understanding wood selection is crucial.
- Poor Design Transfer: Design mistakes are easier to fix on paper than on wood. Double-check your design before transferring.
- Insufficient Clamping: Inadequate clamping can cause movement during routing, leading to imperfect cuts. Always secure your workpiece properly.
- Skipping a Protective Finish: Failing to seal your sign can lead to warping, fading, and damage over time. Always apply a suitable finish.
Understanding the Costs of Making Wooden Signs
Making wooden signs can be very cost-effective compared to buying custom signs. Here's a breakdown of typical costs:
- Wood: $10–$80 per board depending on type, size, and quality. Pine is the most affordable option, while hardwoods like maple are premium.
- Tools: Starting from $50 for basic hand tools to $500+ for professional power tools.
- Paints and Stains: $5–$30 per can. Quality paints and stains improve durability and appearance.
- Finishes and Sealants: $10–$25 per container. Choose a finish based on where the sign will be displayed.
- Stencils and Templates: $5–$50 depending on complexity and size.
- Hanging Hardware: $3–$15 depending on type and weight capacity.
For a basic wooden sign (approximately 18" x 24"), total material costs typically range from $25–$60. Investing in quality tools and materials ensures beautiful, professional results. For more affordable projects, check out our pallet projects that can be adapted for sign making.
Safety Considerations for Wood Sign Making
- Always wear safety glasses and ear protection when operating power tools.
- Use respirators or dust masks when sanding or working with chemicals.
- Work in a well-ventilated area when using paints, stains, and adhesives.
- Keep your workspace clean and organized with proper tool storage.
- Follow manufacturer's instructions for all tools and materials.
Safety First: Power tools and chemicals require proper safety precautions. Always prioritize safety to enjoy your woodworking projects without accidents.
Start Your Wooden Sign Project Today
Crafting wooden signs is a rewarding woodworking skill that combines creativity with craftsmanship. Whether you're making signs for your home, as gifts, or to start a small business, the possibilities are endless. With the techniques and tools covered in this guide, you're ready to create stunning custom wooden signs that will be admired for years to come.
Browse our woodworking section for more project ideas, DIY tips for additional techniques, and explore our recommended products below to find the best tools and materials for your sign-making journey.
Shop Smart: Start with essential tools and upgrade gradually as your skills advance. Quality materials and tools make a noticeable difference in your final results.