Shower Installation Guide: Step-by-Step for DIYers
Learn how to install a shower like a pro. From prepping the space to finishing touches—this guide covers everything you need for a successful bathroom renovation.
SHOP RECOMMENDED TOOLSInstall a shower with confidence. Whether you're replacing an old unit or building a new bathroom, this guide walks you through every stage. We cover planning, tools, plumbing, tiling, and common pitfalls—so you can save money and get professional results.
Shower Installation: Cost & Timeline
Installing a shower can range from $800–$2,500 for a basic DIY kit to $3,500+ for a custom tile shower. The timeline depends on your skill level and the complexity of the project. A straightforward kit install might take a weekend, while a full tiled shower can take a week or more.
- DIY Shower Kit: $800–$1,500 (1–2 days)
- Tile Shower (DIY): $1,500–$3,000 (3–5 days)
- Professional Install: $3,000–$8,000+ (1–2 weeks)
Remember to factor in the cost of plumbing tools and safety gear if you don't already own them.
Step-by-Step Shower Installation
Follow these steps to install your shower correctly. Whether you're using a pre-fabricated kit or building a custom tile shower, the process follows a similar flow.
Step 1: Planning & Preparation
Measure your space carefully. Check the rough-in dimensions for your shower pan and walls. Ensure the subfloor is level and structurally sound. Turn off water supply and disconnect existing plumbing.
Step 2: Rough-In Plumbing
Install the shower valve and drain according to the manufacturer's instructions. This is the most critical step—ensure all connections are tight and use thread sealant or plumber's tape. If you're not comfortable with plumbing, consider consulting a professional.
Step 3: Install the Shower Pan or Base
Place the shower pan or base over the drain. Level it with shims if necessary. Secure it to the subfloor with screws and construction adhesive. Connect the drain to the waste pipe.
Step 4: Install Wall Surround or Cement Board
For a kit, install the wall panels according to the instructions. For a tile shower, install cement board or waterproof backer board. Tape and seal all joints with thinset and waterproof membrane.
Step 5: Waterproofing
Apply a liquid waterproofing membrane or a sheet membrane to all seams and corners. This is essential to prevent leaks and mold growth.
Step 6: Tiling (if applicable)
For tile showers, plan your layout and cut tiles as needed. Apply thinset mortar, set tiles, and use spacers for consistent grout lines. Allow to dry, then grout and seal.
Step 7: Install Fixtures & Trim
Install the shower head, valve trim, and handle. Attach the shower arm and flange. Install the drain cover and any corner shelves or accessories.
Step 8: Final Check & Seal
Turn on the water and check for leaks. Apply silicone caulk around the base and corners. Let everything cure for 24 hours before using.
Essential Tools & Materials for Shower Install
Having the right tools makes the job safer and faster. Here's what you'll need:
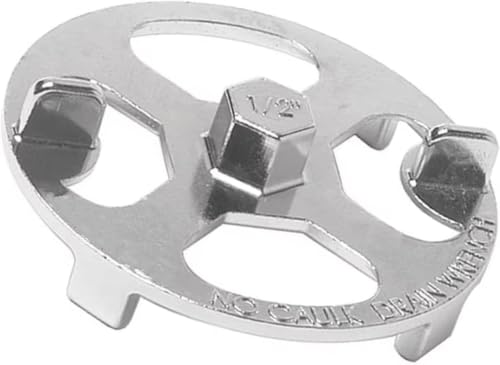
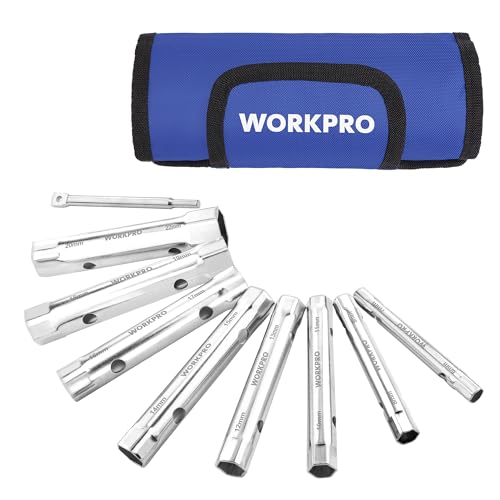
- Pipe wrenches and plumbing tools
- Tape measure and laser level
- Screwdrivers and wrenches
- Utility knife and scrapers
- Safety glasses and work gloves
- Tile cutter (if tiling) and knee pads
- Waterproof membrane, thinset, grout, and silicone caulk
Many of these tools are also useful for other home improvement and home systems projects.
Shower Installation Mistakes to Avoid
- Skipping waterproofing: This leads to mold and structural damage. Always apply a waterproof membrane.
- Improper slope: The shower pan must slope toward the drain. Check with a level.
- Forgetting to seal: Seal all joints with silicone caulk to prevent water seepage.
- Using wrong tools: Invest in quality tools like a pipe wrench and laser level for accuracy.
- Not testing for leaks: Always test the system before closing the walls.
When to Hire a Professional
While many DIYers can install a shower, some situations call for a pro:
- Moving plumbing rough-ins significantly
- Installing a custom tile shower with complex designs
- Dealing with structural issues or subfloor damage
- Lack of experience with plumbing and electrical
For most standard replacements, a confident DIYer with the right tools and equipment can achieve excellent results.
Frequently Asked Questions
How long does a shower installation take?
A basic kit install takes 1–2 days. A tile shower can take 3–5 days for a DIYer, plus drying time.
Can I install a shower myself?
Yes, if you have basic plumbing and DIY skills. Follow our step-by-step guide and use quality tools.
What's the most important step?
Waterproofing. Properly applied waterproof membrane prevents costly water damage and mold.
For more home improvement guides, check out our home improvement section. If you're also working on other bathroom projects, see our faucet installation and toilet installation guides.