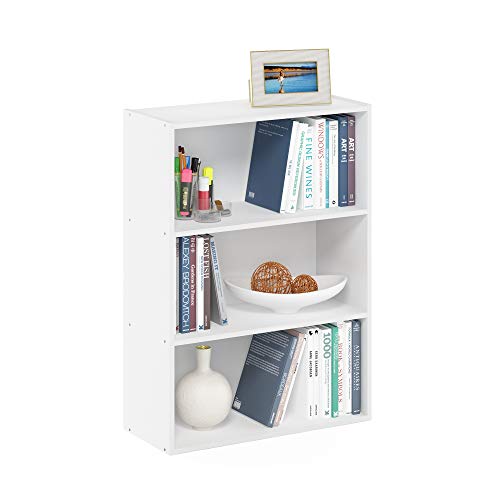
Simple Shelves: Build, Install & Design Like a Pro
Your complete guide to building simple, sturdy shelves. From material selection to installation, we cover everything you need to create beautiful and functional storage.
Simple shelves are one of the most rewarding DIY projects. Whether you need extra storage in your garage, a display for your living room, or a bookshelf for your home office, building your own shelves gives you full control over size, style, and finish. This guide will walk you through the entire process—from planning and material selection to cutting, assembling, and mounting.
Why Build Your Own Shelves?
📏 Custom Fit
Off-the-shelf shelves rarely fit your space perfectly. When you build your own, you can match exact dimensions, making the most of every inch. This is especially useful for awkward alcoves or corners.
💰 Cost Savings
Pre-made shelves can be expensive. Building your own often costs 30–50% less, and you can choose budget-friendly materials like pine plywood or reclaimed wood without compromising quality.
🎨 Personalized Style
Select the wood, stain, paint, and hardware that match your interior design. Whether you prefer rustic, modern, or industrial, your shelves will reflect your taste.
🛠️ Skill Building
A shelf project is perfect for beginners. You'll practice measuring, cutting, drilling, and finishing—foundational skills you can use for future projects like woodworking or building workbenches.
Materials & Tools You'll Need
🪵 Materials
- Wood: Plywood (3/4″), pine boards, or reclaimed lumber
- Brackets: Metal L-brackets or hidden floating shelf brackets
- Screws: Wood screws (1.5″ – 2.5″) and wall anchors
- Wood glue (optional, for extra strength)
- Stain or paint and polyurethane sealer
- Sandpaper: 120, 180, and 220 grit
For a budget-friendly option, consider using lumber guide to choose the best wood for your project.
🔧 Tools
- Circular saw or miter saw for cutting
- Tape measure and pencil
- Laser level or spirit level
- Cordless drill with drill bits
- Screwdriver set
- Clamps for holding pieces together
- Safety glasses and work gloves
Having the right tools makes the job easier and safer. Check our tools & equipment section for detailed reviews.
Step-by-Step Building Guide
1. Plan & Measure
Decide where your shelves will go. Measure the width, depth, and height of the space. Sketch your design, noting the number of shelves and their spacing. A typical shelf depth is 10–12 inches, while length depends on your wall and brackets.
2. Cut the Wood
Using a circular saw or miter saw, cut your boards to the desired length. If you're using plywood, you can have the store cut it for you. Always measure twice and cut once to avoid waste.
3. Sand & Finish
Sand all surfaces starting with 120-grit, then 180, and finally 220-grit for a smooth finish. Wipe off dust with a tack cloth. Apply stain or paint, followed by a clear polyurethane coat for durability. Let it dry completely.
4. Install Brackets
Use a laser level to mark straight lines on your wall. Locate wall studs using a stud finder. Drill pilot holes and secure the brackets with screws. If no studs are available, use heavy-duty wall anchors.
5. Mount the Shelves
Place the finished shelf board onto the brackets. Secure it from below using screws (countersink them for a clean look) or use adhesive pads if the brackets have pre-drilled holes. Check that everything is level.
Design Ideas & Inspiration
🖼️ Floating Shelves
Create a sleek, modern look by using hidden brackets. The brackets are mounted into the wall, and the shelf slides over them, hiding all hardware. Ideal for living rooms and kitchens.
📚 Corner Shelves
Maximize unused corner space with angled shelves. They're perfect for books, plants, or decorative items. You can build them with simple triangular brackets.
🏭 Industrial Pipe Shelves
Combine wood boards with black iron pipes for an edgy, industrial vibe. This style works great in lofts, man caves, or modern offices.
🌿 Rustic Wood Shelves
Use reclaimed barn wood or live-edge slabs for a natural, organic feel. Pair with wrought-iron brackets to enhance the rustic charm.
Common Mistakes & How to Avoid Them
- ❌ Not using a level – Always check that your brackets and shelves are level. A tilted shelf looks unprofessional and can cause items to slide.
- ❌ Skipping wall anchors – If you miss the studs, use heavy-duty anchors. Otherwise, your shelf may fall when loaded.
- ❌ Overloading the shelf – Check the weight rating of your brackets and wood. For heavy items, use thicker wood and stronger brackets.
- ❌ Rushing the finish – Proper sanding and sealing make a huge difference. Don't skip these steps if you want a professional result.
Ready to Build Your Simple Shelves?
With the right materials and a little patience, you can create beautiful, functional shelves that enhance your home. Whether you're a beginner or an experienced DIYer, this project is a great way to improve your skills and your space.
Explore more woodworking projects and DIY tips to continue your home improvement journey.