How to Fix a Leaky Faucet: Complete DIY Guide
A dripping faucet wastes hundreds of gallons of water each year. Learn how to fix it yourself with our step-by-step guide — no plumber needed.
A leaky faucet is one of the most common household nuisances, but it’s also one of the easiest to fix. Whether you have a compression faucet, a cartridge faucet, or a ceramic-disk model, the repair process is similar. This guide will walk you through diagnosing the problem, gathering the right tools, and making the repair yourself — saving you money and helping you maintain your home's plumbing system.
Tools & Materials You'll Need
Most of these items are already in your toolbox. If you need to stock up, check out our plumbing tool recommendations for reliable, affordable options.
Step-by-Step Faucet Repair
1. Turn Off the Water Supply
Locate the shut-off valves under the sink (usually two: hot and cold). Turn them clockwise until they stop. Open the faucet to release any remaining water pressure and drain the lines.
Pro tip: If you don’t have shut-off valves under the sink, you may need to turn off the main water supply to your house. This is also a good time to check for any signs of pipe wear.
2. Remove the Faucet Handle
Use a screwdriver to remove the small screw holding the handle in place. On some models, the screw is hidden under a decorative cap (pop it off with a flathead). Once the screw is out, gently lift the handle straight up.
If the handle is stuck, apply a few drops of penetrating oil and wait a few minutes. Never force it — you might damage the internal mechanism.
3. Inspect & Replace the Cartridge or Washer
Once the handle is off, you’ll see the cartridge or compression assembly. Use an adjustable wrench to loosen the retaining nut, then pull out the old cartridge or washer.
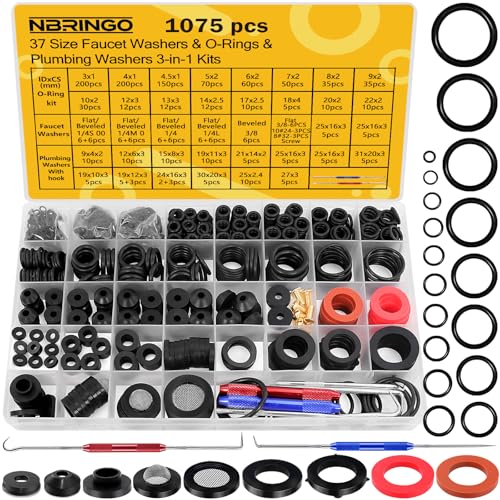
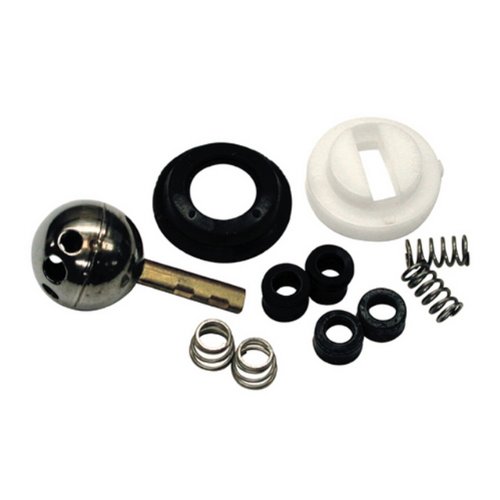
Take the old part to the hardware store to ensure you buy the exact match. For compression faucets, replace the rubber washer and the O-ring. For cartridge faucets, replace the entire cartridge.
Remember: Before installing the new part, wrap a little plumber's tape around the threads to prevent future leaks. This is also a good time to clean any mineral deposits from the faucet body.
4. Reassemble & Test
Reinsert the new cartridge or washer, tighten the retaining nut firmly (but not overtightened), then reattach the handle and screw.
Turn the water supply back on slowly, and test the faucet. Open both hot and cold to ensure no leaks. If everything is dry, you’ve successfully fixed your leaky faucet!
💰 Cost & Time Estimate
- ⏱️ Time required: 30–60 minutes
- 💵 Parts cost: $5–$25 (washer/cartridge)
- 🔧 Professional cost: $150–$350 (save by DIY!)
A simple washer replacement costs about $0.50 — one of the cheapest home repairs you can do.
Why You Should Fix a Leaky Faucet Today
One drip per second wastes over 3,000 gallons a year.
Stop paying for water you don’t use — savings add up quickly.
Constant dripping can stain sinks and damage cabinetry over time.
When to Call a Professional Plumber
If you’ve replaced the cartridge/washer and the leak persists, or if you notice low water pressure, corrosion, or multiple leaking fixtures, it’s time to call a pro. For major plumbing issues, always consult a licensed plumber. For other home improvement projects, explore our home renovation guides.
Looking for more plumbing guides? Learn how to unclog drains, repair toilets, or maintain your water heater. For electrical work, check our outlet and switch guides.