Complete Drywall Installation Guide – Step-by-Step DIY
Master the art of hanging drywall like a pro. From tools and materials to taping, mudding, and finishing – get flawless walls with our comprehensive tutorial.
JUMP TO STEP-BY-STEPDrywall Installation Philosophy: A smooth, crack-free wall is the foundation of any beautiful room. With the right techniques, quality tools, and patience, you can achieve professional results. We’ll guide you through every step, from planning to the final sanding.
What You'll Learn in This Guide
Essential Tools & Materials
Before you start, gather the right tools and equipment. Having everything on hand saves time and ensures a smooth workflow.
🛠️ Tools
- • Tape measure
- • Utility knife
- • Drywall saw / rotary cutter
- • T-square / straightedge
- • Screw gun (cordless drill recommended)
- • Drywall lift (for ceilings)
- • Sanding block / pole sander
- • Taping knives (4″, 6″, 10″)
- • Mud pan & mixing paddle
🧱 Materials
- • Drywall sheets (1/2″ or 5/8″)
- • Drywall screws (1-1/4″ or 1-5/8″)
- • Joint compound (all-purpose)
- • Paper or fiberglass tape
- • Corner beads (for outside corners)
- • Dust control sheeting
- • Drop cloths
Cost Estimates for Drywall Installation
Budgeting is crucial. Here’s a realistic breakdown of material costs (prices are approximate and may vary by region).
Pro installation typically costs $1.50–$3.00 per sq ft. DIY saves 50–70% but requires time and effort.
Preparation: Setting Up for Success
Good prep prevents problems. Clear the room, cover floors with drop cloths, and turn off electricity in the work area. Use a laser level to mark stud locations on the ceiling and floor for accurate screw placement.
- Measure twice: Calculate the number of sheets needed (add 10% for waste).
- Acclimate: Let drywall sit in the room for 24–48 hours to adjust to humidity.
- Clear the area: Move furniture and cover vents/outlets with tape.
Hanging Drywall: Step-by-Step
1 Install ceiling sheets first
Use a drywall lift or have a helper. Start in a corner, secure with screws every 12 inches along studs. Stagger joints between rows.
2 Hang wall sheets vertically or horizontally
Horizontal hanging reduces seams. Keep edges tight but not forced. Use a tape measure to cut around outlets and windows with a drywall saw.
3 Screw placement
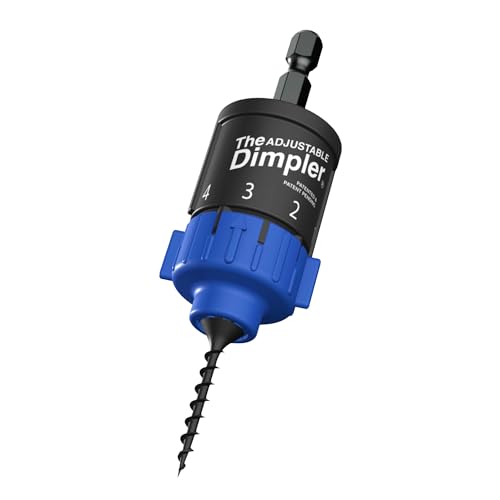
Drive screws slightly below the surface (dimple) without breaking the paper. Space screws 12″ on edges, 16″ in the field. A cordless drill with a drywall bit makes this easy.
4 Cut around obstacles
Use a rotary cutter or jab saw for electrical boxes, pipes, and windows. Precise cuts save time during taping.
Taping & Mudding – The Art of Seamless Walls
This is where patience pays off. Use paper tape for strength or fiberglass mesh for easier application. Apply a thin layer of joint compound, embed the tape, and smooth with a 6″ knife. Let dry, then apply a second coat with a 10″ knife, feathering edges.
For inside corners, fold the tape and press into the corner. For outside corners, install metal or vinyl corner bead before mudding.
Sanding & Finishing – The Final Polish
Once the mud is completely dry (usually 24 hours), sand with a pole sander and 120-grit paper. Work in a circular motion and use a safety glasses and a respirator to protect against dust. After sanding, wipe walls with a damp sponge to remove dust. Apply a final skim coat if needed, then prime before painting.
- Check for imperfections
- Use a bright light to spot flaws
- Touch up with compound
- Final sand with 150-grit
- Clean thoroughly before priming
Pro Tips for Flawless Drywall
Frequently Asked Questions
How long does drywall installation take?
A typical 12×12 room takes 2–3 days for a DIYer (hanging, taping, drying between coats).
Can I install drywall over existing walls?
Yes, but ensure the surface is clean and flat. Use 1/4″ drywall for thin overlays.
Do I need a permit to install drywall?
Usually not for non-structural work, but check local codes for additions or major renovations.
Ready to Start Your Drywall Project?
Equip yourself with the best tools and materials. Browse our recommended products below to get everything you need for a professional finish.
SHOP TOOLS & MATERIALS