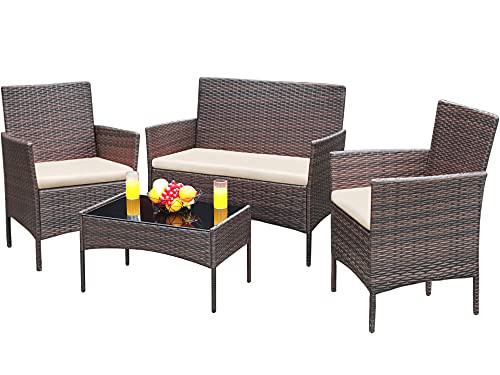
Build Your Perfect Patio Furniture
Step-by-step plans, essential tools, material guides & the best DIY kits for outdoor living.
Explore Build Plans ↓Building your own patio furniture is one of the most rewarding DIY projects. Not only do you save money, but you also get custom pieces that fit your space and style perfectly. This guide covers everything from planning and materials to assembly and finishing. Whether you're a beginner or an experienced woodworker, you'll find practical advice to create durable, beautiful outdoor furniture.
Before you start, make sure you have the right tools & equipment and a solid understanding of woodworking basics. Let's dive in.
Planning & Design
Start with a clear plan. Consider the size of your patio, the style of your home, and how you'll use the furniture. Popular builds include dining sets, lounge chairs, sofas, and coffee tables.
- Measure your space – leave at least 24 inches for walkways.
- Choose a style – modern, rustic, or classic? Look for inspiration in our home decor section.
- Sketch your design – even a rough drawing helps visualize proportions.
For detailed plans, explore our DIY tips & guides and woodworking projects.
Best Materials for Patio Furniture
Choosing the right material is crucial for durability and appearance. Here's a breakdown of the most popular options:
| Material | Pros | Cons | Price (approx.) |
|---|---|---|---|
| Cedar | Naturally rot-resistant, lightweight | Soft, can dent | $4–$8/board ft |
| Teak | Extremely durable, beautiful grain | Expensive | $20+/board ft |
| Pressure-Treated Pine | Affordable, widely available | Can warp, needs sealing | $2–$4/board ft |
| Composite Lumber | Low maintenance, weatherproof | Heavier, can sag | $4–$8/linear ft |
For a balance of cost and longevity, many DIYers choose cedar or pressure-treated pine. Always use outdoor-rated screws and nails to prevent rust. For finishing, consider waterproof stains and sealers to protect your work.
Essential Tools for Building Patio Furniture
Having the right tools makes the difference between a frustrating weekend and a successful build. Here's what you'll need:
If you're missing some tools, consider renting or buying affordable options. Our tools & equipment section has reviews and recommendations to help you choose.
Step-by-Step Build Process
1. Prep & Cut
Measure and cut all your wood pieces according to your plan. Use a miter saw for precise angles and a circular saw for straight cuts. Sand all edges smooth.
2. Assemble the Frame
Start with the base and work your way up. Use clamps to hold pieces together while you drill pilot holes and drive screws. Check for squareness frequently.
3. Add Supports & Details
Install cross-braces for stability. Add slats for seats or tabletops. This is where you can get creative with woodworking techniques like joinery or decorative cuts.
4. Sand & Finish
Sand the entire piece with progressively finer grits (start at 80, finish at 220). Apply a weather-resistant sealant or stain. For best results, use a paint sprayer for even coverage.
For more detailed instructions, check our beginner guides and wood finishing tips.
Ready-Made Kits & Premium Materials
If you prefer to skip the cutting and planning, patio furniture kits are an excellent option. They come with pre-cut pieces, hardware, and instructions. Below are some of the best patio furniture builds available through our trusted partners.
These products are highly rated by DIYers and professionals alike. By purchasing through our affiliate links, you support our content at no extra cost to you.