How to Install a Faucet: Step-by-Step DIY Guide
Master faucet installation with our comprehensive guide. Learn the tools, techniques, and tips for replacing kitchen and bathroom faucets like a professional plumber.
GET STARTEDInstalling a new faucet is one of the most rewarding DIY plumbing projects you can tackle. Whether you're upgrading your kitchen sink or refreshing your bathroom vanity, this guide will walk you through every step of the process. With the right tools and preparation, you can complete this project in just a few hours and save hundreds on professional installation costs.
Why Install a Faucet Yourself?
Professional plumbers typically charge $150–$350 for faucet installation, with some complex jobs costing up to $500. By doing it yourself, you save that money while gaining valuable plumbing skills that will serve you for years. Modern faucets are designed for easy installation with standard connections, making this an ideal project for confident DIYers.
Before starting your faucet installation, ensure you have the right preparation. If you're dealing with old, stuck fixtures, you might also need to fix a leaky faucet first or address pipe repair issues before proceeding with replacement.
Faucet Installation Cost Breakdown
| Component | Cost Range |
|---|---|
| Basic Kitchen Faucet | $80–$250 |
| Pull-Down Kitchen Faucet | $150–$400 |
| Touchless Kitchen Faucet | $200–$500 |
| Bathroom Faucet (Centerset) | $50–$150 |
| Bathroom Faucet (Widespread) | $100–$350 |
| Additional Supplies (plumber's putty, tape, etc.) | $15–$30 |
| Total DIY Cost (with new faucet) | $100–$530 |
*Prices are estimates and may vary based on brand, quality, and retailer.
Tools & Supplies You'll Need
Having the right tools makes faucet installation smooth and frustration-free. Here's what you should gather before starting:
Adjustable Wrench
For loosening and tightening nuts
Basin Wrench
Essential for tight spaces under sinks
Plumber's Putty
For sealing around the faucet base
Plumber's Tape
Teflon tape for water-tight connections
Bucket & Towels
For catching residual water
Flashlight
To see under the sink
Channel-Lock Pliers
For stubborn connections
Screwdrivers
Flathead and Phillips
For a complete list of quality plumbing tools, check our plumbing tool kits and pipe wrench recommendations.
Step-by-Step Faucet Installation Guide
Follow these steps carefully to ensure a successful faucet installation. Remember, if you encounter any plumbing issues beyond your comfort level, consult a professional or refer to our home systems guide.
Step 1: Turn Off Water Supply
Locate the shutoff valves under the sink. Turn them clockwise to shut off the water. Open the faucet to release any remaining water pressure.
- Both hot and cold supply lines must be closed
- Keep a bucket and towels nearby for drips
Step 2: Disconnect Old Faucet
Place your bucket under the sink. Use an adjustable wrench or basin wrench to disconnect the supply lines from the old faucet. Remove the mounting nuts holding the faucet in place.
- Some faucets may require a special tool for mounting nuts
- Clean the sink surface thoroughly after removing the old faucet
Step 3: Prepare the New Faucet
Read the manufacturer's instructions carefully. Most new faucets come with all necessary mounting hardware. Apply plumber's putty around the base of the faucet if required.
- Install any included rubber gaskets or O-rings
- Apply plumber's tape to threaded connections
Step 4: Install the New Faucet
Guide the supply lines and mounting hardware through the sink holes. Secure the faucet from underneath using the provided mounting nuts. Tighten evenly to ensure a watertight seal.
- Don't overtighten—hand-tight plus ¼ turn is usually sufficient
- Ensure the faucet is properly aligned and centered
Step 5: Connect Water Supply Lines
Connect the hot and cold supply lines to the corresponding shutoff valves. Hand-tighten first, then secure with a wrench. Be careful not to cross-thread the connections.
- Use plumber's tape on all threaded joints
- Check for proper alignment of flexible supply lines
Step 6: Test for Leaks
Slowly open the shutoff valves to restore water flow. Check all connections for signs of leakage. Tighten any connection that shows moisture, but avoid overtightening.
- Run both hot and cold water for several minutes
- Check for drips at the faucet base and supply connections
Step 7: Final Adjustments
Check the faucet's handle for smooth operation. Apply any decorative escutcheons or trim rings. Clean the faucet surface and surrounding area.
- Test for proper water temperature mixing
- Check for any unusual noises or vibrations
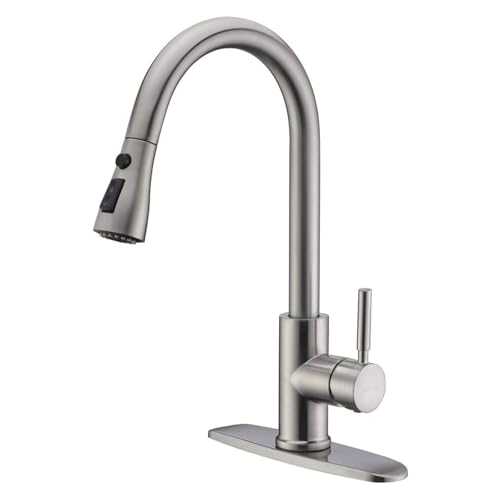
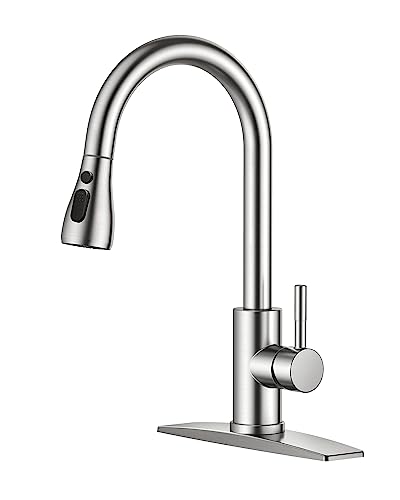
💡 Pro Tip: When installing a kitchen faucet, consider upgrading to a pull-down or touchless model for added convenience. These modern designs often include all necessary mounting hardware and detailed instructions. If you're also upgrading your sink, refer to our sink installation guide for coordinated projects.
Common Faucet Installation Mistakes to Avoid
Even experienced DIYers can make these common errors. Here's what to watch for:
Forgetting the Plumber's Putty
Many faucets require putty under the base for a watertight seal. Without it, water can leak into the cabinet below.
Overtightening Connections
Excessive force can damage threaded connections and O-rings. Tighten just enough to prevent leaks—usually hand-tight plus ¼ to ½ turn.
Mixing Up Hot and Cold Lines
Connecting the supply lines incorrectly leads to backward handles. Verify hot (usually left) and cold (right) connections before tightening.
Tip: Check your existing plumbing setup or blueprint guidance if you're unsure.
Not Using Plumber's Tape
Teflon tape on threaded connections is essential for preventing leaks. Apply it clockwise around the threads before connecting.
When to Call a Professional Plumber
While faucet installation is a great DIY project, certain situations call for professional expertise:
- Corroded or rusted pipes that may break during removal
- Inaccessible shutoff valves that won't close properly
- Upgrading from a two-handle to single-handle configuration
- Installing a faucet with complex electronic or touchless components
- Signs of pipe damage or water heater issues
If you encounter any of these situations, consult a licensed plumber to avoid costly water damage. For basic installation tips, refer to our home systems and DIY guides for more detailed information.
Related Topics & Resources
Expand your plumbing skills with these related guides:
- Fix a Leaky Faucet – Repair instead of replace.
- Unclog Drains – Keep your plumbing flowing.
- Install a Toilet – Another common DIY plumbing project.
- Shower Installation – Upgrade your bathroom.
- Garbage Disposal – Install or replace units.
You're Ready to Install Your New Faucet!
With the right tools and our step-by-step guide, you can confidently install a kitchen or bathroom faucet. This DIY project saves money, builds skills, and gives you a fresh, updated look for your home. Browse our recommended products below to find the perfect faucet for your project.