HVAC Air Duct Sealing: The Ultimate Guide to Energy Efficiency & Clean Air
Stop wasting energy and money. Learn how professional air duct sealing improves HVAC performance, reduces utility bills, and enhances indoor air quality for a healthier home.
Shop Duct Sealing ProductsDid you know that up to 30% of the air in your HVAC system can escape through leaks and gaps in your ductwork? That’s like throwing away a third of every dollar you spend on heating and cooling. Air duct sealing is one of the most cost-effective home improvements you can make, instantly boosting energy efficiency, lowering your monthly bills, and improving the air quality inside your home.
Whether you’re a seasoned DIYer or hiring a professional, understanding the process and materials involved is key. This guide covers everything from identifying leaks to choosing the right sealants, and the long-term benefits of a properly sealed duct system.
Why Seal Your Air Ducts? Key Benefits
⬆️ Lower Energy Bills
Sealing leaks can reduce your heating and cooling costs by 10–20% annually. A small investment with a big return.
💨 Improved Air Quality
Stop dust, pollen, and pollutants from being sucked into your ductwork and circulated throughout your home.
🌡️ Consistent Temperature
Eliminate hot and cold spots in your home by ensuring conditioned air reaches every room efficiently.
🔧 Extended HVAC Lifespan
Reduced strain on your system means fewer breakdowns and a longer life for your furnace and AC unit.
How to Seal Air Ducts: A Step-by-Step Guide
- Inspect & Locate Leaks: Turn on your HVAC fan and use a smoke pencil or incense stick to detect air movement around joints and seams. Check accessible ducts in attics, basements, and crawl spaces.
- Clean the Surface: Use a wire brush or rag to remove dust and debris from the area you plan to seal. Sealant adheres best to clean, dry surfaces.
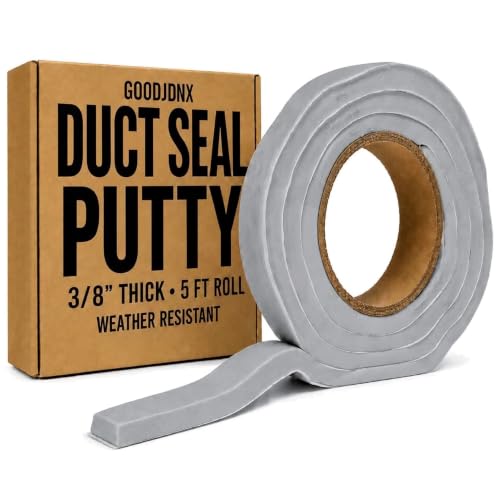
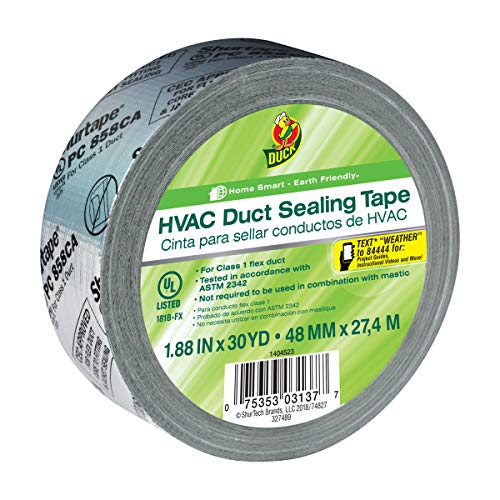
- Apply Mastic Sealant or Metal Tape: For a durable, long-lasting seal, use duct mastic (a goopy paste) or UL-181-rated metal tape. Avoid standard duct tape—it dries out and fails quickly.
- Seal Joints and Connections: Apply a generous layer of mastic over all joints, seams, and connections with a brush or putty knife. For metal tape, press firmly to ensure full adhesion.
- Check and Test: After sealing, turn the system back on and feel for any remaining drafts. Reapply if needed. Consider a professional blower door test for a comprehensive check.
Essential Tools & Materials for Duct Sealing
Having the right supplies makes the job easier and more effective. Below are the top-rated products trusted by professionals and DIYers. Choosing high-quality sealants and tapes ensures your work lasts for years.
- Duct Mastic: The gold standard for sealing. It’s a thick, water-based paste that dries to a flexible, airtight seal. Great for irregular surfaces.
- UL-181 Rated Foil Tape: This is not the same as duct tape. It’s a metal-backed tape designed specifically for HVAC systems and holds up to extreme temperatures.
- Wire Brush & Rags: For cleaning surfaces before applying sealant.
- Putty Knife or Brush: For applying mastic smoothly.
- Flashlight & Mirror: To see into dark corners and behind ducts.
- Safety Gear: Gloves, dust mask, and safety glasses to protect yourself from dust and debris.
For a complete overview of essential home improvement equipment, explore our tools & equipment guide. If you're also considering other energy-saving projects, check out our attic air sealing guide for a whole-home approach.
Should You DIY or Hire a Pro?
DIY: Ideal for accessible ducts with minor leaks. The materials are affordable, and the process is straightforward for handy homeowners.
Professional: If your ducts are in hard-to-reach areas, or you suspect major damage, a professional can perform a blower door test and ensure every leak is sealed. They also handle more complex ductwork issues.
Most homeowners can handle visible, accessible leaks themselves. For a full-system efficiency audit, consider professional renovation services that include duct diagnostics.
Cost & Savings: Is Duct Sealing Worth It?
Duct sealing is one of the highest ROI home improvements. The average cost for a DIY project ranges from $50–$150 for materials. Professional sealing typically costs $400–$1,200 depending on home size and duct complexity.
However, the savings are significant. The U.S. Department of Energy estimates that sealing your ducts can improve your HVAC system’s efficiency by up to 20%, potentially saving you $200–$500 per year on energy bills. Many homeowners recoup their investment in less than a year.
For more cost insights on home projects, see our guides on whole house renovation costs and kitchen renovation costs.
Related Projects: If you're tackling multiple home efficiency projects, you might also be interested in drywalling a basement, basement finishing, or attic remodeling—all of which benefit from proper duct sealing.